Check that the layer is ready
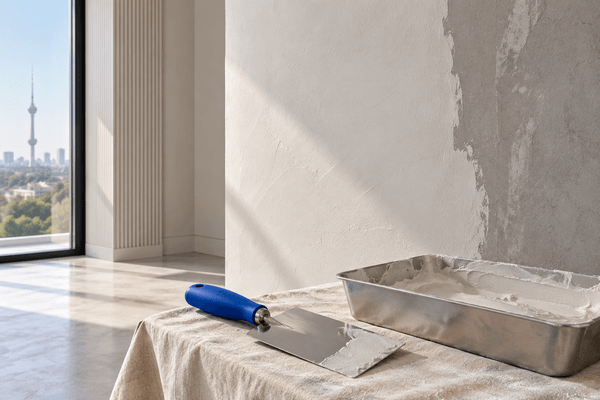
Follow the filler instructions and account for room conditions. Do not start merely because the surface has become lighter. Discuss doubts about layer thickness or damp areas with the installer before sanding.
Work on a dry surface
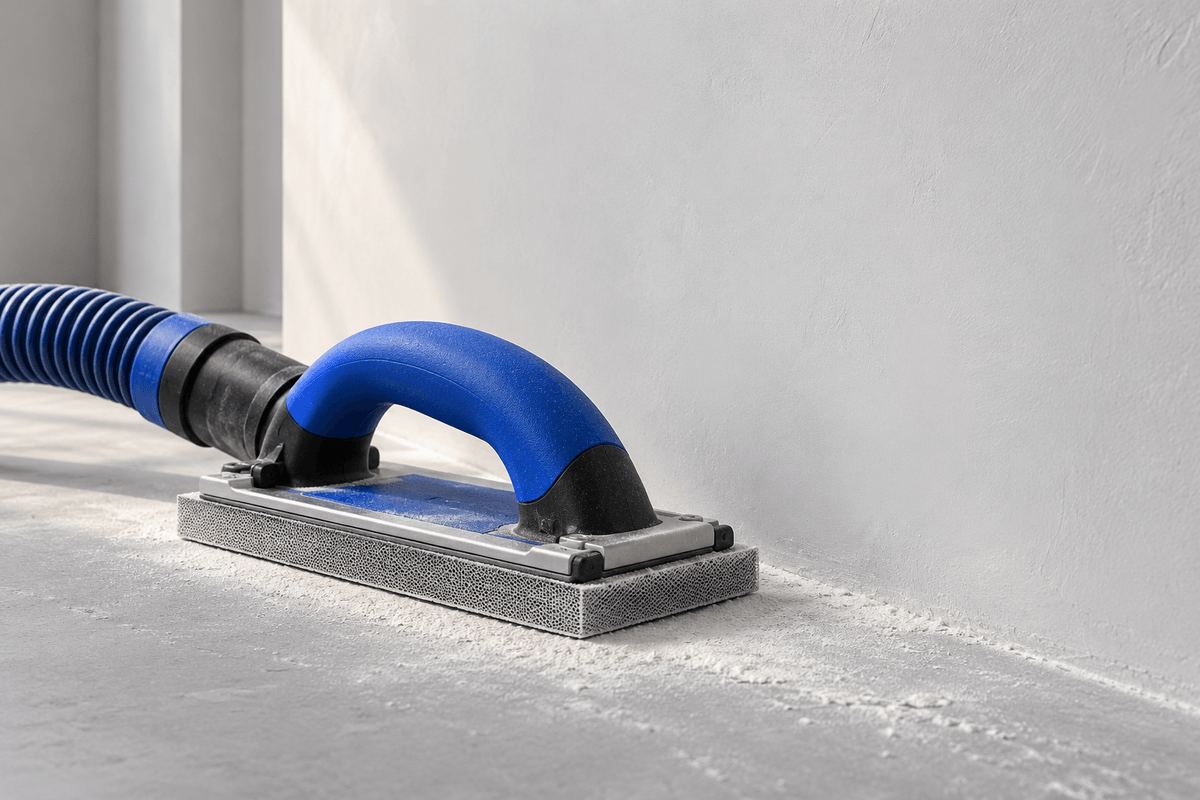
Use abrasive paper or sanding mesh suitable for the filler. Control pressure and inspect the result with side lighting. Do not try to fix deep depressions by grinding harder around them: further levelling may be needed.
Collect dust rather than spreading it
After sanding, clean the surface using a vacuum suitable for construction dust or a dry brush. Remove dust from nearby horizontal surfaces too, so it does not return to the wall during the next steps.
Inspect before applying primer
View the wall at an angle and check transitions between treated areas. If more filler is needed, repeat drying and sanding on the repaired section. Start priming on a clean surface only after the previous stage is complete.
Check before ordering
- Filler dry according to its instructions
- Raised areas checked in side light
- Wall and work area free of dust
Sanding and dust removal are two separate steps; neither replaces the other.

Let’s discuss your wall.
Send your measurements and design idea. We can help compare materials and agree the next step.