Assess the wall and remove loose finishes
Send an overall photo and close-ups of problem areas to the installer. Remove old wallpaper and peeling layers. Grandeco’s checklist likewise recommends a smooth, dry surface without loose remnants. A new covering should not rely on material that is already coming away.
Level, then allow to dry
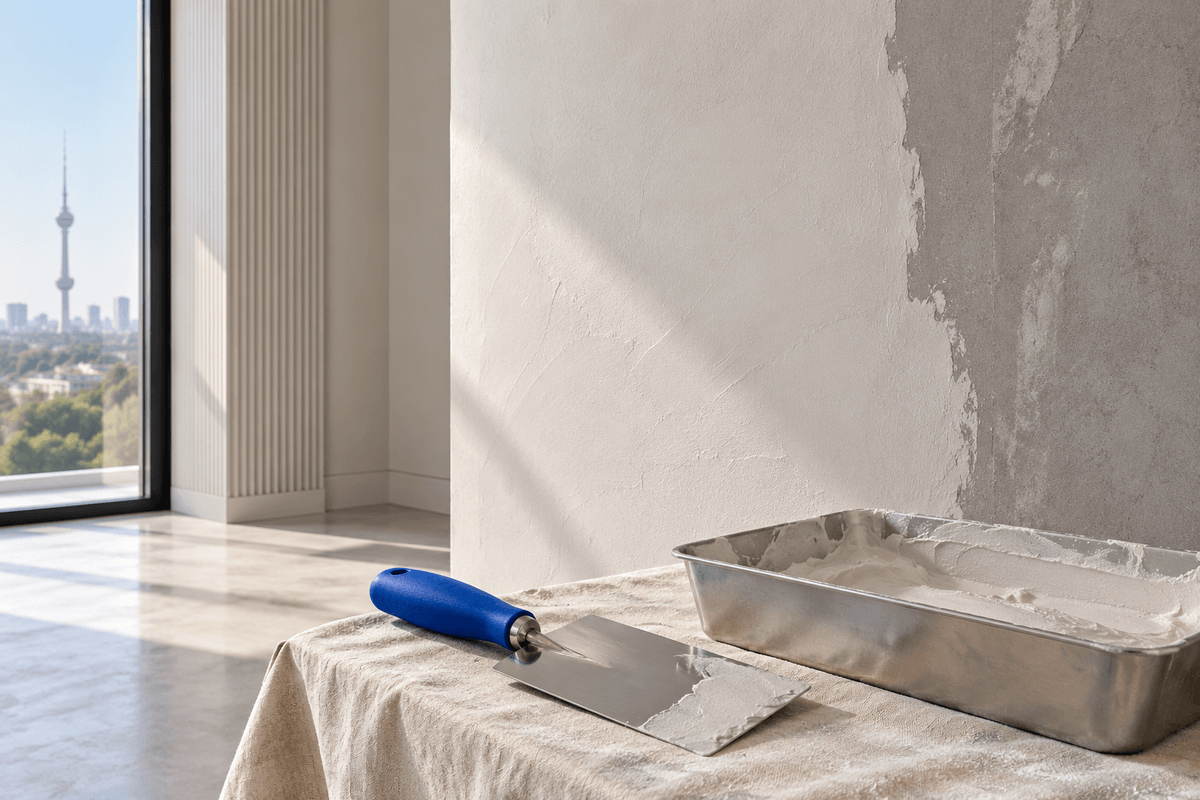
Repair cracks and visible unevenness with a suitable product. Let the filler dry according to its instructions: a dry-looking surface may not describe the whole layer. Only then start sanding. Discuss deep defects instead of trying to conceal them with wallpaper.
Sand, then remove the dust
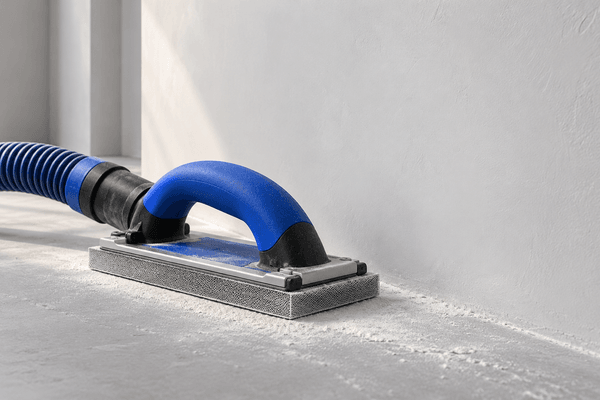
Work on the dry surface with abrasive paper or sanding mesh to remove raised transitions. Collect dust with a suitable vacuum or a dry brush. Do not apply primer to a dusty wall: clean first, then treat the surface.
Prime and inspect before installation
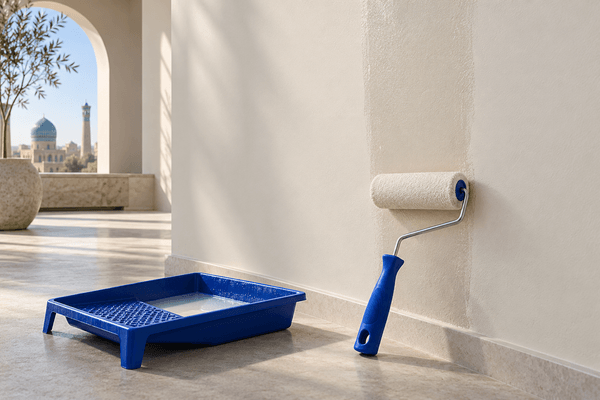
Choose a primer compatible with the substrate and installation system. Apply it with a roller or brush according to its instructions and allow it to dry fully. Confirm final wall measurements and send a photo after preparation. Primer application alone does not mean the wall is ready.
Check before ordering
- Loose finishes removed
- Filler dry and raised areas sanded
- Dust removed and compatible primer dry
The sequence matters: level, dry, sand, remove dust, prime and dry again.
Sources and instructions

Let’s discuss your wall.
Send your measurements and design idea. We can help compare materials and agree the next step.